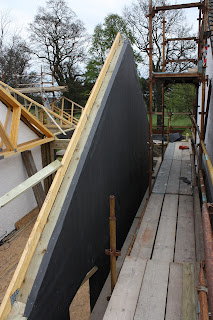
Before i started working for my Dad on the project that's currently under-way the site was scraped back and covered with hard core. The founds dug and dwarf walls built (I call them dwarf walls , not sure of the real name) That's what the kit sits on on the inside and the outside layer if you like continues up with either block or brickwork which is then clad or rendered. This is all wrapped around the existing house which has had two porches removed and the couple who use it as a holiday home are still living there at weekends, this means its even more vital that the site is kept clean and tidy as well as being very important from a safety point of view. Below I have uploaded a few images of what's going on around the site accompanied by some info explaining briefly what they are all about.

< Kit sits on top of binder (can just be seen to right of image)
< Binder
< Joist
< Wall Plate
< DPC layer
< Block dwarf wall (with vents)
< Outer dwarf wall for exterior block work
< Foundations
The above image is of the floor joists meeting with the existing building. A trimmer joist fixed to the wall with m14 tiger bolts then has joist hangers (which can also be used for roof trusses) fixed using a lot of threaded nails. The floor joists sit in the hangers and are then nailed into the trimmer joist and the hangers.
The above image is of a section of kit meeting the original building which can be seen built from Lochgelly red bricks. Packers are used between the original house and kit to ensure the extension is plum and level and not running off with the existing wall which has been effected by subsidence (a problem found with many old buildings especially from this era in fife due to the vast number of mine shafts running through the area). The kit is then fixed using spit hits and m14 tiger bolts.
Quick image of the contrast between older brickwork and the modern concrete block. (garage)
the above image is of a pad stone which will hold an I beam. Eventually the I beam will hold the roof trusses for the garage.


